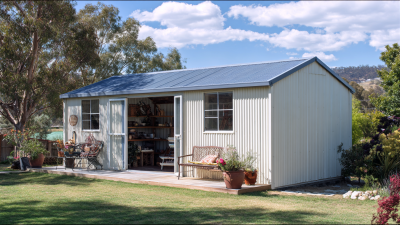
How to Build a Narrow Shed for Maximum Storage?
Building a Narrow Shed can transform an unused side yard into practical storage without overwhelming your property. A carefully planned 4-by-10-foot structure can hold garden tools, folding chairs, bicycles, and seasonal equipment. Yet its slim footprint creates demanding design choices. Every inch matters.
The process begins with accurate measurements, a realistic inventory, and a clear access plan. Measure twice. A door that opens into a crowded interior can waste valuable floor space. Consider a wide single door, sliding doors, or a combination of wall-mounted storage and shallow shelving. Shelves around 12 inches deep often store boxes without blocking movement. A taller wall can provide room for long-handled tools, while hooks keep rakes and shovels off the floor.
Reliable construction also depends on the base, framing, roof, ventilation, and weather protection. A level foundation helps prevent shifting doors and uneven floors. Pressure-treated components, exterior-rated fasteners, and a properly flashed roof improve durability. Local building requirements and property restrictions should be checked before construction begins. Practical experience shows that attractive plans can still fail when drainage, wind exposure, or maintenance access receive little attention.
Small errors matter. A few inches lost around the doorway may affect the entire layout. This guide will examine space-saving dimensions, foundation options, interior organization, material selection, and construction techniques. It will also question common assumptions, because maximum storage does not always mean filling every corner. A useful Narrow Shed should remain safe, accessible, dry, and adaptable as your storage needs change.
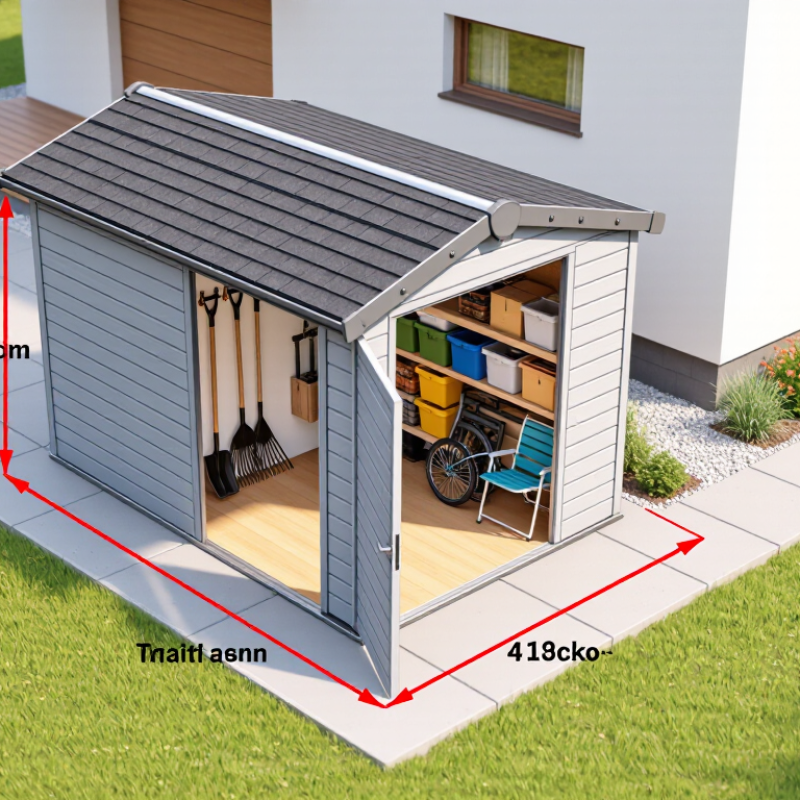
Assess the Site, Storage Needs, and Shed Dimensions
How to Build a Narrow Shed for Maximum Storage?
Assess the Site, Storage Needs, and Shed Dimensions
A narrow shed begins with an honest site assessment. Walk the area after rain and note standing water, soft soil, and overhanging branches. Measure the distance from fences, walls, and utility lines. Local building requirements may also affect placement, height, and access. Leave enough room to carry long tools through the doorway without scraping your knuckles.
List every item before choosing dimensions. Group tools by frequency of use, size, and weight. A mower may need floor space, while hand tools can hang above it. Seasonal boxes belong on higher shelves. Keep heavy containers low. This simple inventory prevents a shed that looks large but stores poorly. I once designed around shelving first and regretted losing valuable floor width.
For tight sites, a practical depth may range from 4 to 6 feet, depending on the equipment. A wider door improves access, but it reduces wall space for storage. Consider a door at the short end when the shed sits beside a path. Use vertical wall space with sturdy shelves, hooks, and a narrow overhead rack. Keep a clear central passage, even if it feels wasteful. It makes daily use safer and less frustrating. Sketch the layout with cardboard boxes or taped floor lines before building. The result may reveal an awkward corner you missed on paper.
Choose Materials, Tools, and a Space-Saving Design
A narrow shed can hold surprising amounts of equipment when every wall serves a purpose. Measure the available space twice, including roof overhang and door clearance. A width of 1.2 to 1.5 meters often works well for garden tools, bins, and folded ladders. My first layout ignored the door swing. That mistake wasted valuable floor space.
Use exterior-grade framing timber, moisture-resistant panels, and corrosion-resistant fasteners. Choose materials that suit your local weather, not only your budget. Place the shed on a level base of concrete or compacted gravel. Raise the floor slightly to reduce dampness. Check local building requirements before construction. A small level, tape measure, drill, saw, square, and stud finder should cover most tasks. Wear eye protection, gloves, and hearing protection when cutting.
Build a single outward-opening door, or consider sliding hardware if the site allows it. Install shallow shelves above shoulder height, leaving a clear walkway below. Add narrow vertical racks for shovels and rakes. A ceiling-mounted rail can store seasonal items in sealed containers. Keep heavy tools low and close to the wall. Leave ventilation gaps beneath the eaves, but cover them with mesh. My shelves ended up too deep, so small items disappeared behind larger ones. Adjustable shelves would have prevented that problem. Measure your largest tool before fixing any bracket.
How to Build a Narrow Shed for Maximum Storage
Choose a fixed 1.2 m shed width and extend the length to increase capacity without taking more space from the side passage.
The chart uses real geometric calculations for sheds that are 1.2 m wide and 2.0 m high. Floor area equals width × length. Vertical shelf area assumes shelves are installed on both long walls at a usable height of 1.8 m, with approximately 0.4 m shelf depth on each side and a central aisle.
Prepare the Foundation and Build the Floor
A narrow shed needs a foundation that stays dry, level, and stable. Mark the footprint first, allowing a small working gap around the walls. Remove soft soil, then excavate until the ground feels firm underfoot. Add crushed stone in 2- to 3-inch lifts, compacting each layer carefully.
The U.S. Department of Agriculture’s Wood Handbook, FPL-GTR-282, notes that decay fungi commonly develop when wood moisture remains above about 20%.
Drainage is not optional.
Check local requirements for frost depth, setbacks, and anchoring. The 2021 International Residential Code places footings below the frost line where local conditions require it. A gravel pad may suit a small shed, but it must not bridge unstable soil.
I once trusted a seemingly flat site and skipped one compaction check. The floor settled slightly. That mistake still bothers me.
Build the floor frame from treated structural lumber rated for ground contact. Place joists across the narrow span when possible, because shorter spans reduce bounce. Use the span tables from the American Wood Council’s National Design Specification resources rather than guessing. Install joists on consistent centers, then confirm the frame is square by comparing diagonal measurements. They should match closely. Fasten the frame to concrete anchors or approved ground anchors, depending on the foundation design. Leave ventilation beneath the floor, but block rodent entry with durable wire mesh. Use exterior-rated structural panels, seal exposed cut edges, and keep every panel joint supported.
Small gaps matter.
A 1/8-inch expansion gap can prevent buckling, though I still measure twice before fastening.
Frame the Walls, Roof, Door, and Ventilation
For a narrow shed, accurate wall framing matters more than decorative details.
Mark the floor plate carefully before cutting any studs. Set studs at 16-inch centers for firm wall sheathing and easier interior storage. Check each corner with a level, then brace the walls temporarily. My first frame leaned slightly because I trusted a quick measurement. I had to correct it before installing the roof.
Build the roof with a modest slope so rainwater moves away quickly.
Use rafters that match the shed’s span and local structural requirements. Install roof sheathing with staggered joints, leaving small expansion gaps between panels. A narrow door should open outward when possible, preserving valuable floor space. Reinforce the hinge side with doubled studs. Test the door before adding the final trim. Small alignment errors become obvious later.
Ventilation prevents trapped heat, damp air, and musty stored materials.
Place a screened vent near the lower wall and another near the upper opposite wall. This creates a natural airflow path without leaving large openings for insects. Keep vents clear of shelves and stored boxes. Use corrosion-resistant fasteners in humid conditions, and seal exposed end grain carefully. Check local building requirements before construction, especially for setbacks, roof loads, and electrical work. I would also inspect the shed after its first heavy rain; plans can miss weaknesses that weather reveals.
Install Shelving and Optimize Interior Storage
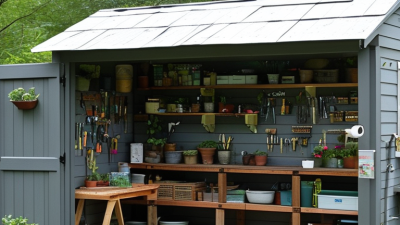
A narrow shed becomes practical when each wall earns its space. In one small shed I built, I measured the walkway before installing a single shelf. This prevented boxes from blocking the door. Keep shelves about 10 to 14 inches deep. That depth stores paint supplies, hand tools, and folded tarps without stealing the aisle. Leave at least 30 inches for comfortable movement. Too deep, and tools disappear.
Install vertical supports along the longest wall, then attach shelves at adjustable heights. Place heavy containers on the lowest level to reduce strain and improve stability. Store small hardware in clear, lidded containers at eye level. Label the edges. A narrow ledge above the doorway can hold seasonal items, but secure every container against vibration. Use wall hooks for ladders, hoses, and long-handled tools. They should hang flat, not lean across the floor.
I prefer a shallow work shelf near the entrance for quick repairs. It can hold a tape measure, pencil, gloves, and a compact light. Leave a small gap between the shelf and wall where moisture may collect. Ventilation still matters, even in a storage shed. My first layout wasted a corner because I focused on shelf quantity instead of access. I later shortened one shelf and gained room for a narrow rolling cart. It was not perfect, but daily use became easier. Check the shelves after loading them, since wood can sag more than expected.